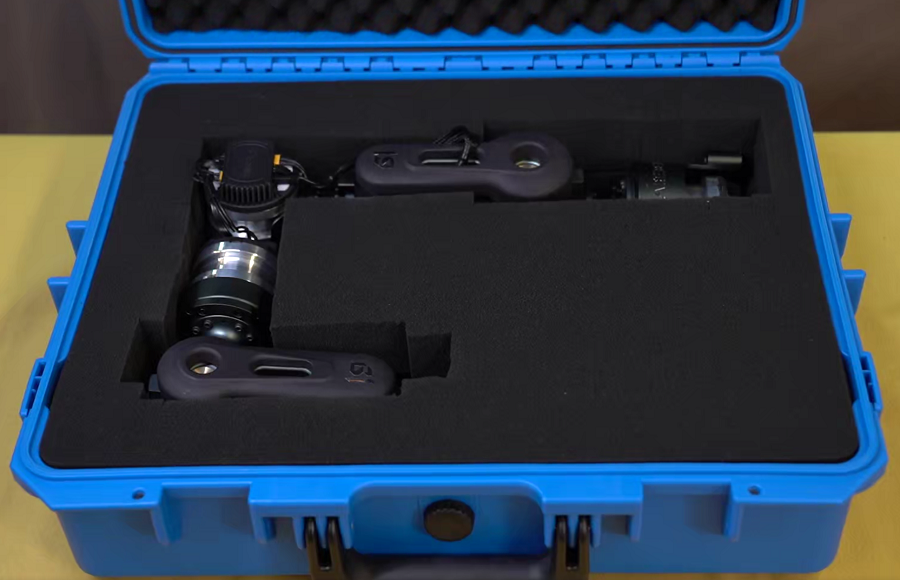
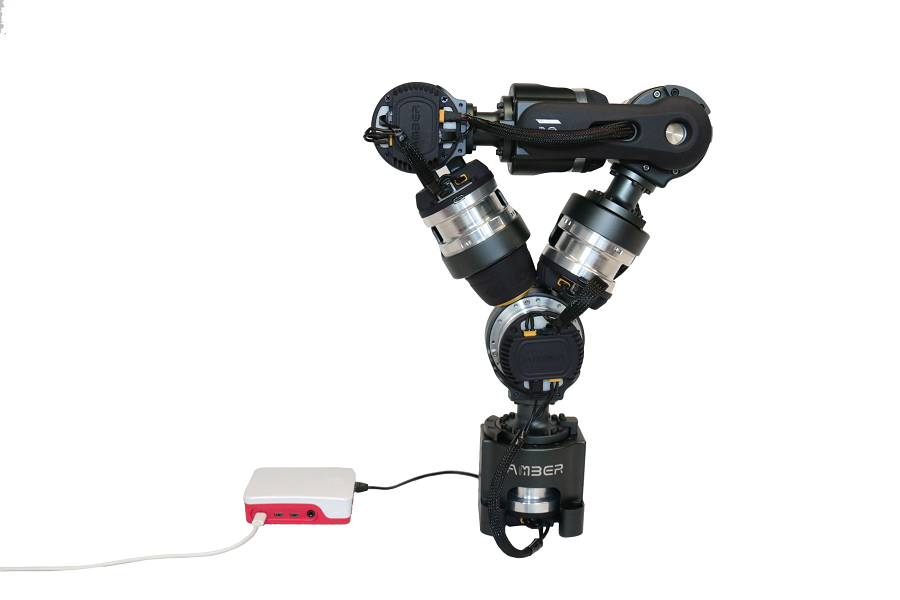
Product Overall (AMBER Lucid ONE)
②Network cable connection
- Connect the robotic arm and the Master Box with network cable.
 -->
-->
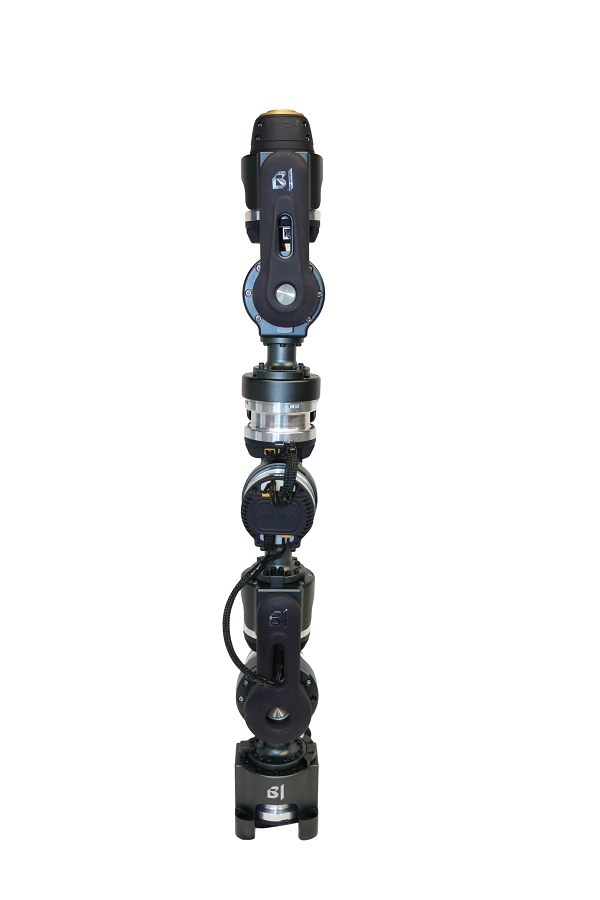
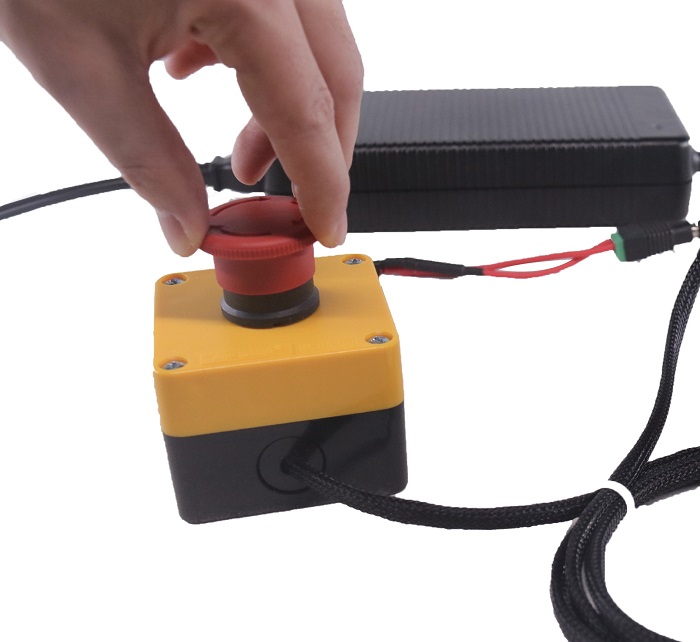
<### Turn on the power
Before turning on or off the power to restart the robotic arm, you need to reset the robotic arm to the initial position.
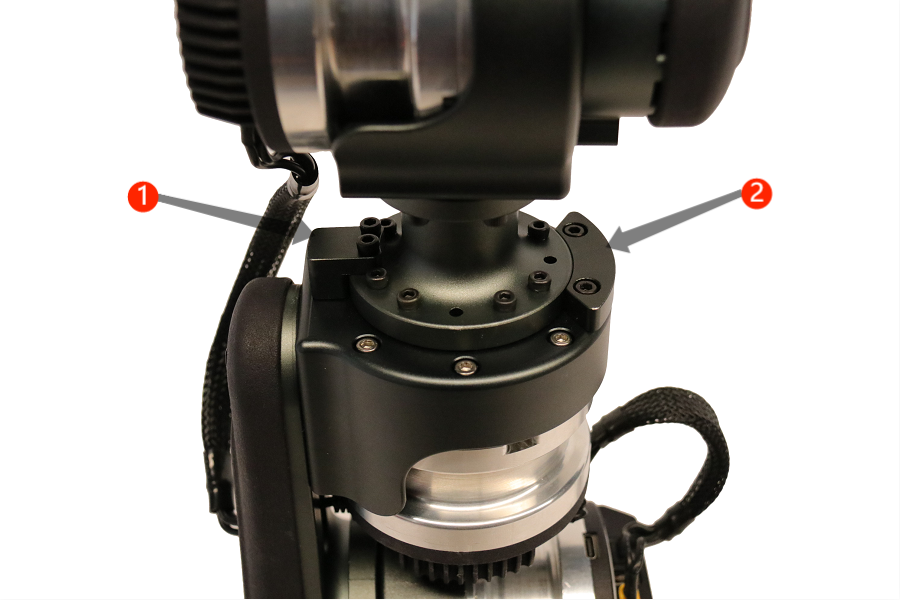
Initial position is as the picture below. The position 1 and 2 of Every Actuator should be on the opposite side.
- Turn on the power, the voltage range of the actuator is DC 24V-28V.
-->Order Lucid ONE Now,
Technical parameters
Workspace(mm)
Specifications
| Model type | Lucid ONE |
|---|---|
| Payload | 1.5 kg |
| Degree of freedom | 7 |
| Installation method | On plane or tilt surface or suspended |
| Repeatability | ± 0.5mm |
| Working Temp. | +0 ~ +40° |
| Storage Temp. | -25° ~ +55° |
| Working/Storage humidity | No greater than 95% no condensation |
| Weight | 8kg |
| Drive mode | Brushless servo |
| Communication protocal | Ethernet/CAN |
Axis parameter
| Axis number | Turning limit | Turning speed limit | Reduction ratio |
|---|---|---|---|
| Axis1 | (-120,120) | 180°/s | 1:50 |
| Axis2 | (-120,120) | 180°/s | 1:50 |
| Axis3 | (-120,120) | 180°/s | 1:50 |
| Axis4 | (-120,120) | 180°/s | 1:50 |
| Axis5 | (-120,120) | 300°/s | 1:30 |
| Axis6 | (-120,120) | 300°/s | 1:30 |
| Axis7 | (-175,175) | 300°/s | 1:30 |